BMP to JPG converter
BMP to JPG - Compress bulky BMP files into lightweight JPGs, completely offline.
BMP files store raw pixel data and can be impractically large. File Studio converts them to compact JPGs with adjustable quality, turning a 50 MB bitmap into a 1-2 MB image you can actually email or upload.
Works 100% offline on both Windows and Mac.
All conversions happen locally on your computer. No uploads, no subscriptions, and no background syncing.
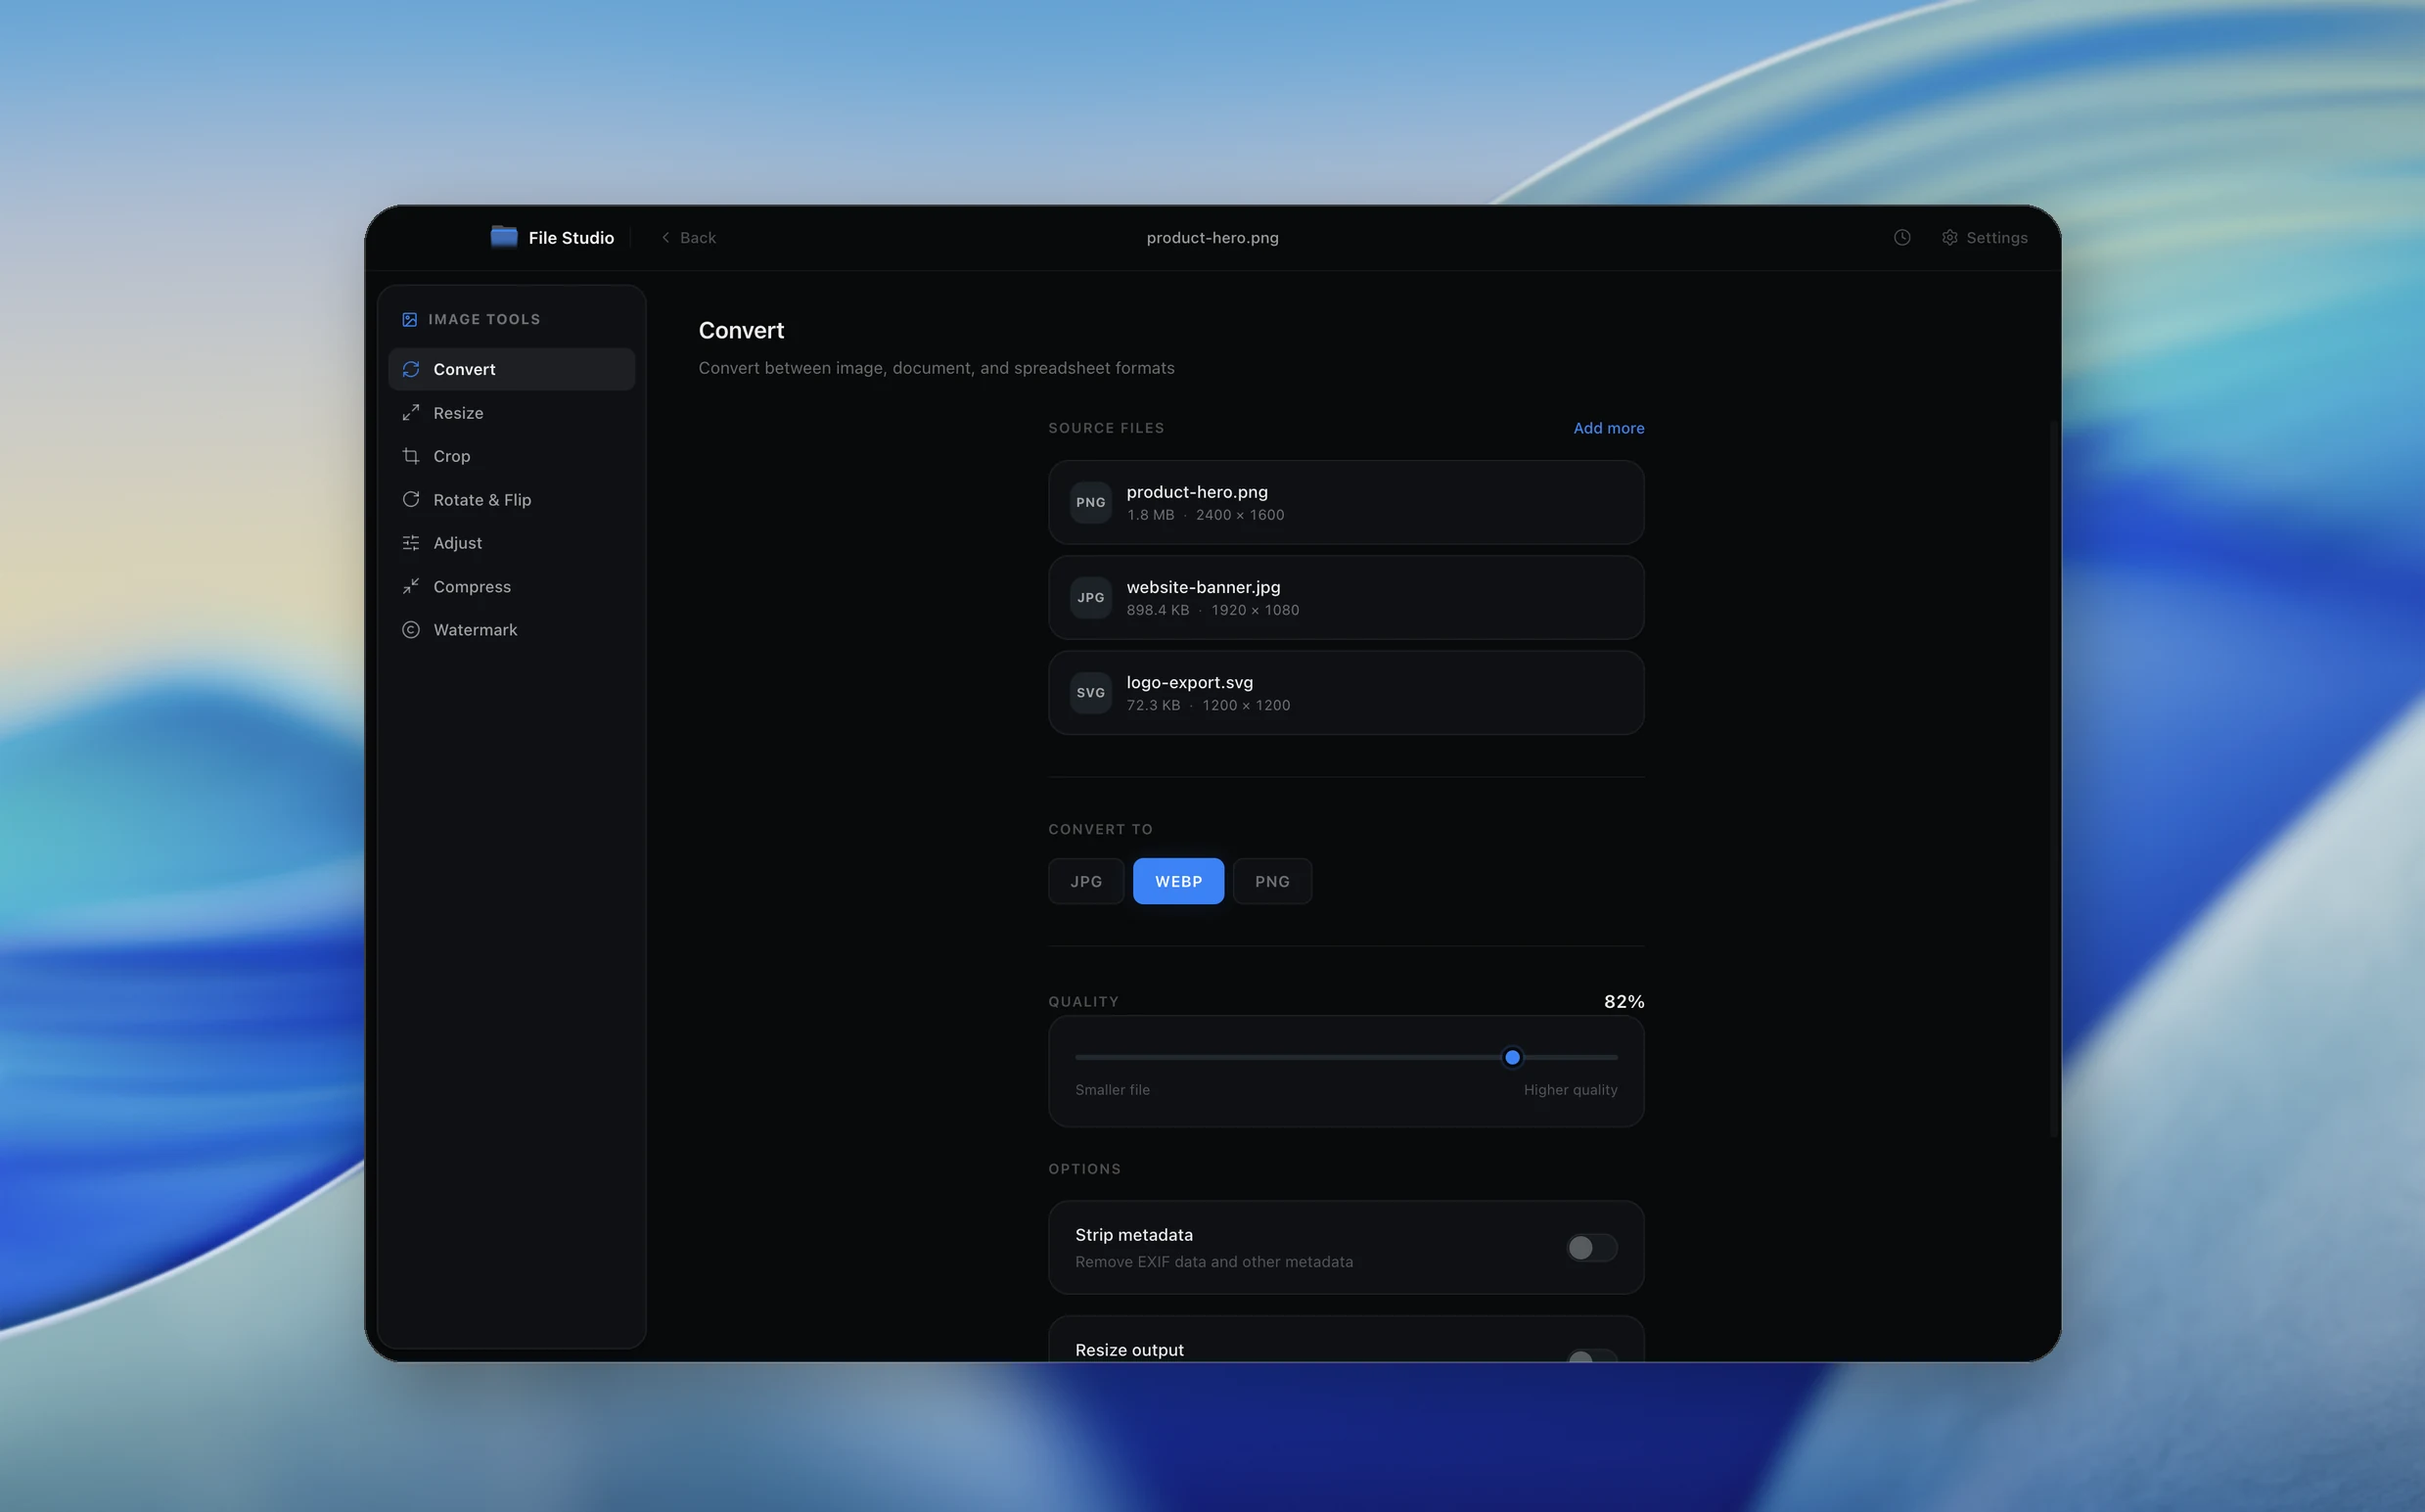
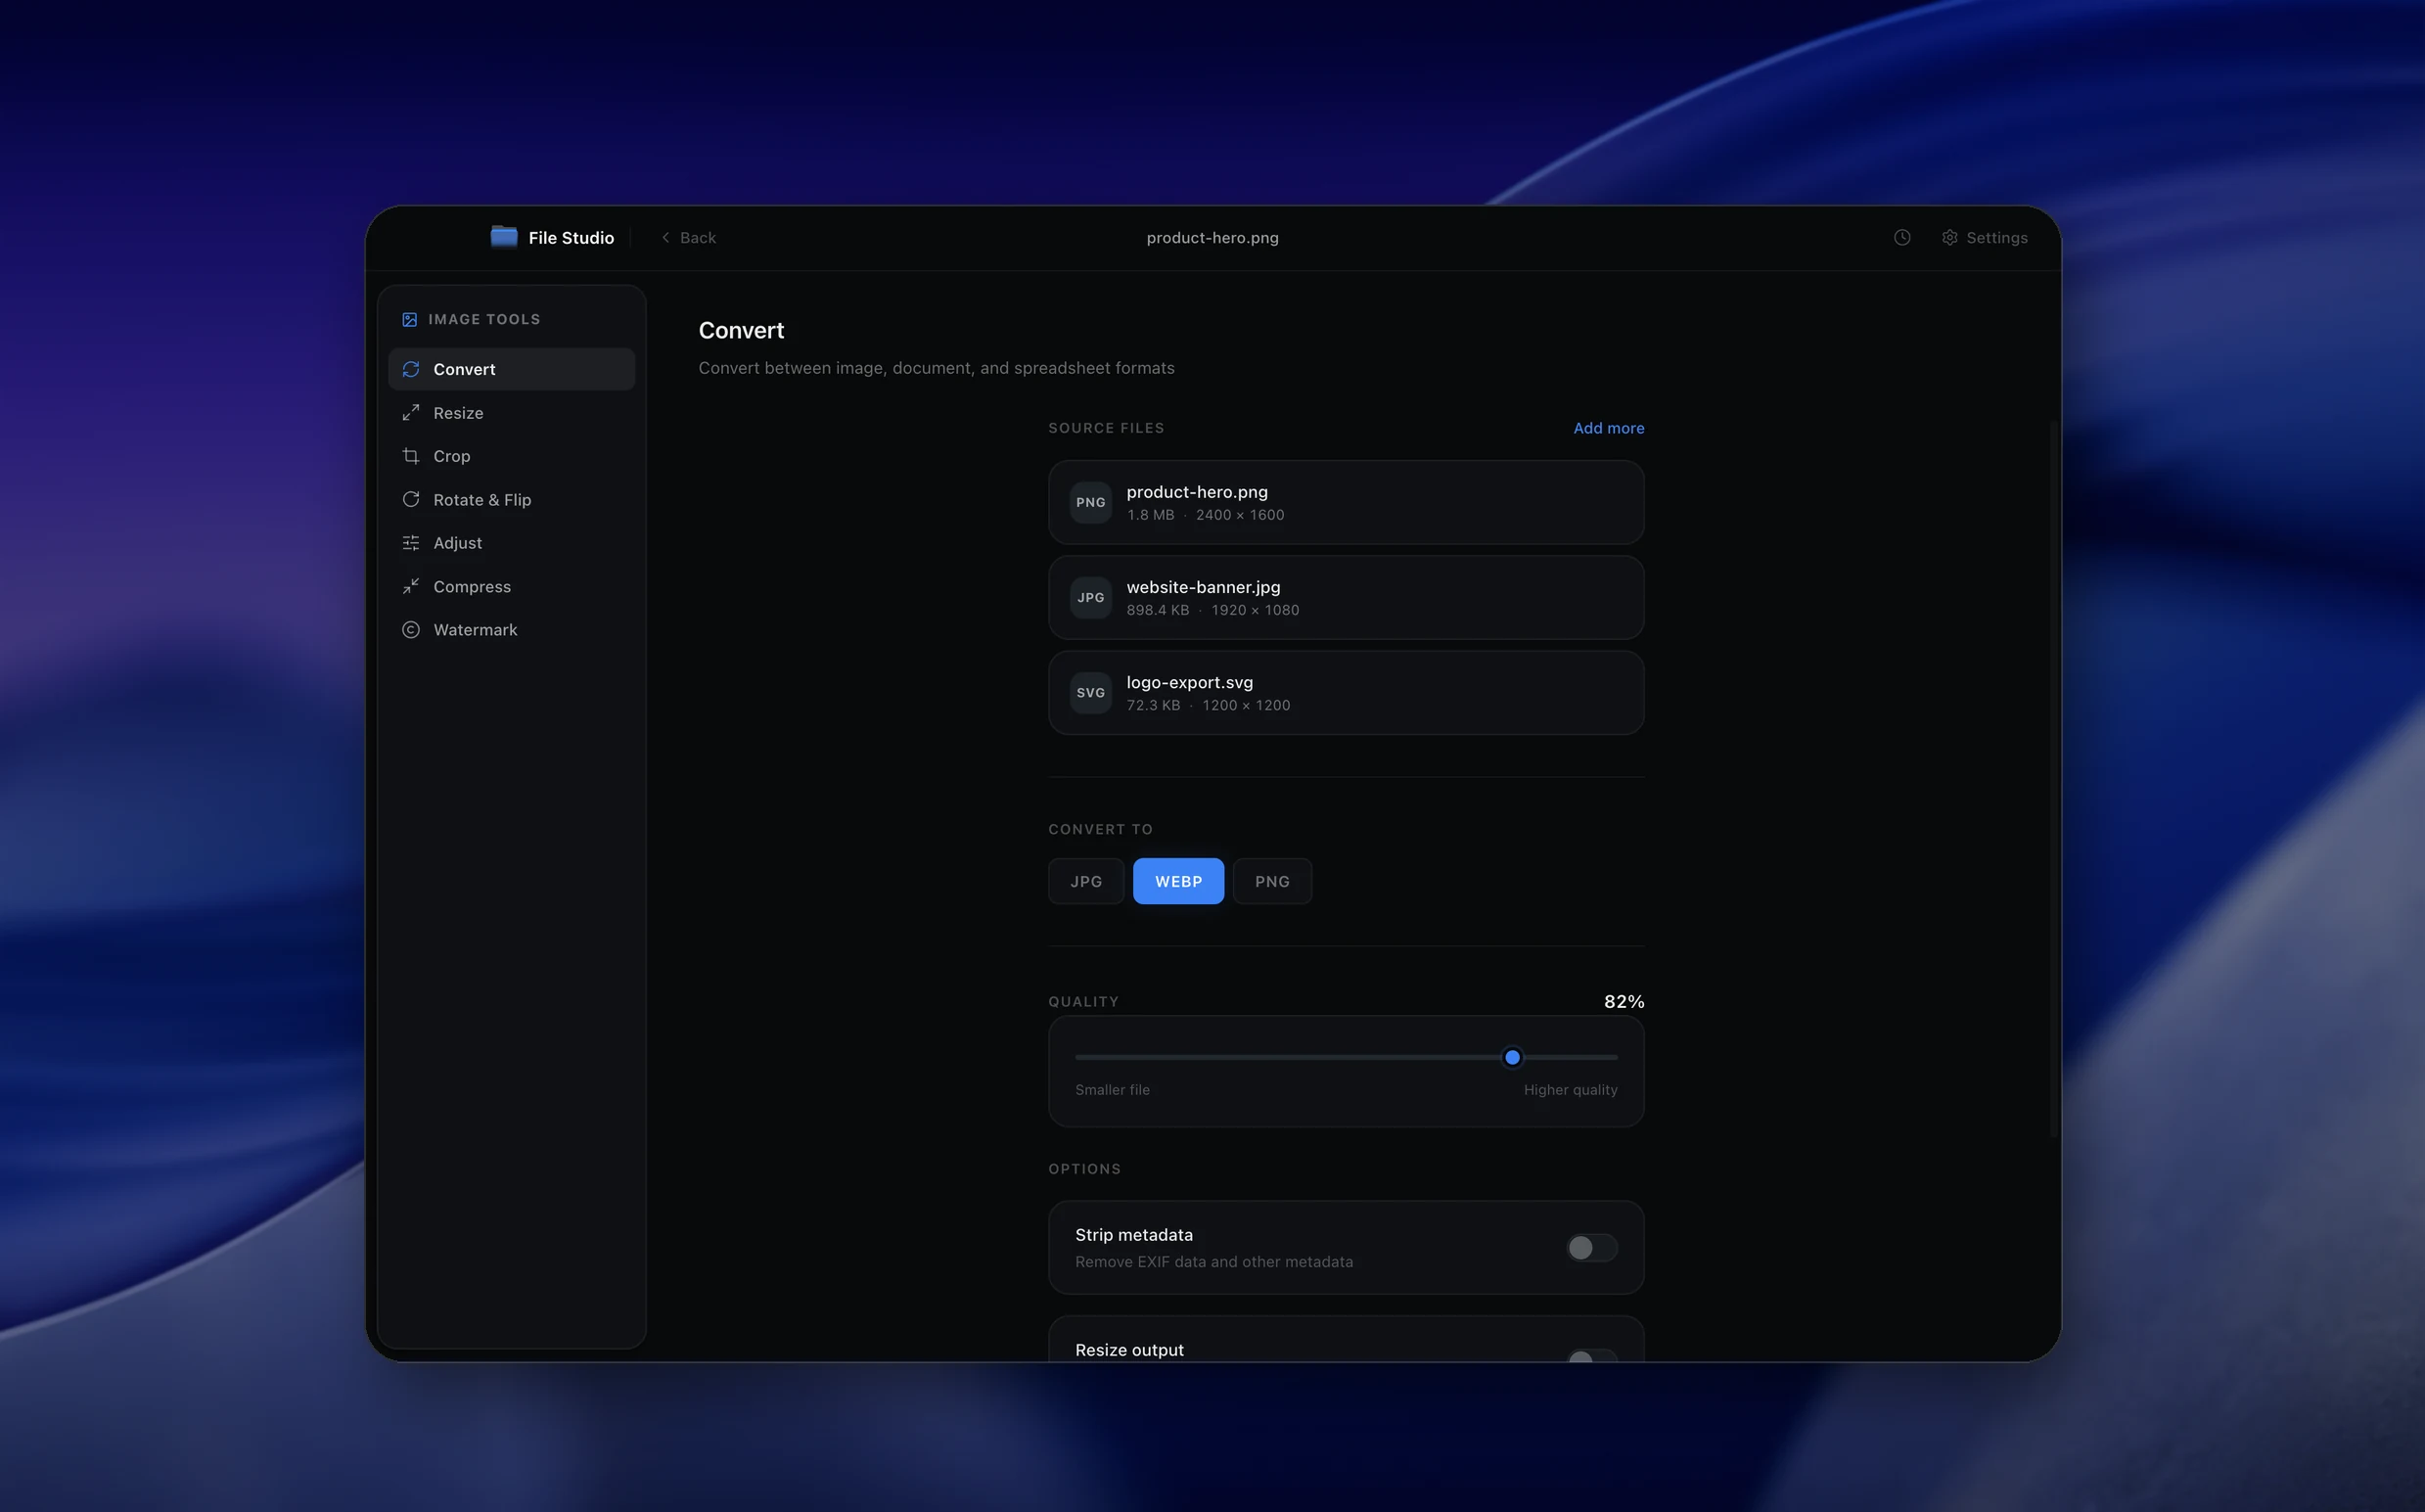
BMP → JPG
Real File Studio interface, shown in light and dark mode.
Understanding the JPG format
JPG (also written JPEG) is the lossy raster image format published in 1992 as ISO/IEC 10918. It uses a discrete cosine transform on 8x8 pixel blocks and quantizes the resulting frequency coefficients to discard information the human visual system is least likely to notice. JPG supports 24-bit RGB, 8-bit grayscale, EXIF metadata, ICC color profiles, and progressive encoding. It does not support transparency, layers, animation, or multiple pages.
BMP (Bitmap) is Microsoft's original Windows raster format, first introduced in 1985. A BMP file stores pixel data row by row, almost always uncompressed, with optional run-length encoding for indexed color modes. BMP supports 1, 4, 8, 16, 24, and 32 bits per pixel and includes a small header describing dimensions, color palette, and compression method. The format is simple, fast to read, and produces enormous files: a 1920x1080 24-bit BMP is roughly 6 megabytes regardless of content.
Converting BMP to JPG is almost always a size optimization. A 24-bit screenshot saved as BMP is huge; the same image as JPG at quality 85 is typically 90 to 95 percent smaller. The conversion is lossy, so any subsequent edits should start from the BMP master rather than from the JPG. JPG is the right destination when the source BMP is photographic or screenshot content destined for display, sharing, or upload to systems that have file size limits.
How it works
Convert BMP to JPG in four simple steps.
The flow mirrors the main File Studio experience: install the app, drop in your files, pick the right tool, and export clean, ready-to-share output. All without sending anything to the cloud.
Install File Studio
Download the app, move it to Applications, and open it. No sign-ups or accounts required.
Add your BMP files
Drag-and-drop your bmp files into the window or click to browse from disk.
Choose BMP → JPG
Pick the dedicated tool, then adjust resolution, quality, and page range until the preview feels right.
Export & keep working
Select an output folder and run the conversion. Your originals stay untouched on your device.
Best practices for cleaner results
- ·Group related files into folders before converting so your output stays organized and easy to archive.
- ·Use higher resolution presets when you know the result will be printed, zoomed in, or reused in design tools.
- ·Keep an unedited copy of your original BMP files for audits, record-keeping, or compliance workflows.
- ·Combine this tool with other File Studio actions like compress, merge, or split to streamline entire document pipelines.
Why File Studio
Built for trustworthy, everyday BMP to JPG work.
You get precise control over the output, predictable file names, and a private workflow that keeps sensitive documents on your own machine.
Features tuned for this conversion
- ·Quality slider from 1 to 100 for fine-grained compression control.
- ·Support for all standard BMP bit depths including 8-bit, 24-bit, and 32-bit.
- ·Batch conversion of entire folders of BMP files in a single operation.
Why use File Studio for this conversion?
- ·Slash file sizes by 90% or more when moving from uncompressed BMP to JPG.
- ·Adjust quality to find the sweet spot between sharpness and size.
- ·No internet required, safe for legacy screenshots and proprietary visuals.
Real-world ways people use it
- ·Convert legacy Windows application screenshots from BMP to JPG for modern documentation.
- ·Reduce storage usage by converting archived BMP photo scans to compressed JPGs.
- ·Prepare BMP exports from industrial cameras for web-based reporting dashboards.
Settings guide
Understanding your conversion options
Quality factor
JPG quality runs 0 to 100. Use 85 for typical photographic content. Use 90 to 95 for content with text, sharp edges, or screenshots where artifacts are more visible. Use 75 for thumbnails. Below 70, blocking artifacts become noticeable.
Color depth
BMP files can be 1, 4, 8, 16, 24, or 32 bits per pixel. JPG supports 8-bit grayscale or 24-bit RGB only. Indexed BMPs (1, 4, 8 bit) are expanded to 24-bit RGB during conversion. 32-bit BMPs with alpha lose the alpha channel since JPG does not support transparency.
Background for alpha (32-bit BMP)
If the source BMP is 32-bit with an alpha channel (uncommon but possible), JPG must flatten transparency against a background color. White is the default. Choose a color matching the destination if anti-aliased edges would otherwise show halos.
Chroma subsampling
Subsampling (4:4:4, 4:2:2, 4:2:0) trades color resolution for file size. 4:2:0 is the default and invisible on most photographs. 4:4:4 preserves crisp colored edges and should be used when the BMP contains screenshots of UI with colored text.
Resolution metadata (DPI)
BMP stores horizontal and vertical resolution in pixels per meter. JPG stores DPI in JFIF and EXIF segments. Confirm that the converter copies the resolution metadata so the image prints at the intended physical size.
Industry standards and requirements
BMP is rare in modern professional workflows because its uncompressed nature wastes storage and bandwidth. The most common reason to encounter BMP today is legacy software output: scientific instruments, older medical imaging systems, and Windows-only enterprise tools that have not been updated. Converting BMP to JPG is the standard step for sharing such captures with collaborators on modern systems.
Microsoft Office accepts BMP, but PowerPoint and Word presentations bloat dramatically when BMPs are embedded. Converting embedded BMPs to JPG can cut a 200 MB PowerPoint to 20 MB without visible quality loss. This is a common cleanup task when receiving slides from Windows-only enterprise environments.
For scientific imaging, BMP from legacy capture software is often archived and the JPG is generated as a working copy. Microscopy, electron microscopy, and laboratory instrument output may default to BMP for compatibility with old vendor software. The standard workflow archives the BMP and uses JPG for display in publications, presentations, and shared drives.
Troubleshooting
Common issues and how to fix them
JPG is much smaller than the BMP but looks fine→
This is the expected outcome and the entire reason to convert BMP to JPG. BMP is uncompressed; JPG is compressed by 10x to 30x. As long as visual quality is acceptable at the chosen quality setting, the size reduction is the point.
Text in screenshots looks blurry or has colored fringes→
DCT compression and chroma subsampling are unfriendly to crisp colored text. Raise quality to 95, switch chroma subsampling to 4:4:4. For text-heavy screenshots, PNG is a much better destination than JPG.
Indexed-color BMP looks posterized after conversion→
Indexed BMPs only contain 256 or fewer distinct colors. Expanding to 24-bit RGB and re-encoding as JPG can introduce visible banding because the smooth gradients JPG expects are not present. Either keep the indexed source as PNG, or use JPG at quality 95 with no chroma subsampling.
Image dimensions or DPI are wrong after conversion→
BMP stores resolution in pixels per meter; JPG uses DPI. Some converters drop the resolution metadata, defaulting to 72 or 96 DPI. Confirm the converter writes the correct DPI in the JFIF header so prints come out at the intended size.
Pricing
Simple, fair pricing.
All tools included. No hidden fees. Processing stays on your device.
Yearly
For short-term projects.
- 1 year of updates
- Image, PDF, SVG, and spreadsheet tools
- Works on Mac & Windows
- All processing done on device
Lifetime
One purchase. Keep it forever.
- Unlimited conversions forever
- 1 year of major updates
- Image, PDF, SVG, and spreadsheet tools
- Watch Folders & Automation
- macOS Notch Drop Zone
- Works on Mac & Windows
Team & Bulk Pricing
Lifetime seats with volume discounts. More seats, bigger discount.
15
lifetime seats
You save
$60
15% off the individual price
Enterprise
50+ seats with custom pricing, centralized license management, and priority support.
FAQ
Frequently asked questions
How much smaller will my files get?→
BMP is uncompressed, so a 24-bit BMP can easily be 10-50 times larger than an equivalent JPG. At quality 85, most BMP files shrink by 90% or more with minimal visible difference.
Will I lose quality in the conversion?→
JPG uses lossy compression, so there is some quality reduction. At higher quality settings (80-95), the difference is nearly imperceptible for photographs and most screenshots.
Does this work with old 8-bit or 16-bit BMP files?→
Yes. File Studio reads all standard BMP variants including indexed-color and 16-bit modes, converting them to 24-bit JPG output.
Can I process a folder of BMPs at once?→
Absolutely. Drop an entire folder into File Studio and convert every BMP to JPG with the same quality settings in one batch.
Is this fully offline?→
Yes. BMP to JPG conversion runs entirely on your Mac or Windows machine. No files are uploaded to any server.
Looking for something else? Explore more offline conversions with File Studio: