TIFF to JPG converter
TIFF to JPG - Shrink large TIFF files into lightweight JPGs without sacrificing clarity.
TIFF files can be enormous, making them impractical for email or web use. File Studio converts them to compact JPGs with granular quality control, and the entire process runs on your local machine with no cloud involvement.
Works 100% offline on both Windows and Mac.
All conversions happen locally on your computer. No uploads, no subscriptions, and no background syncing.
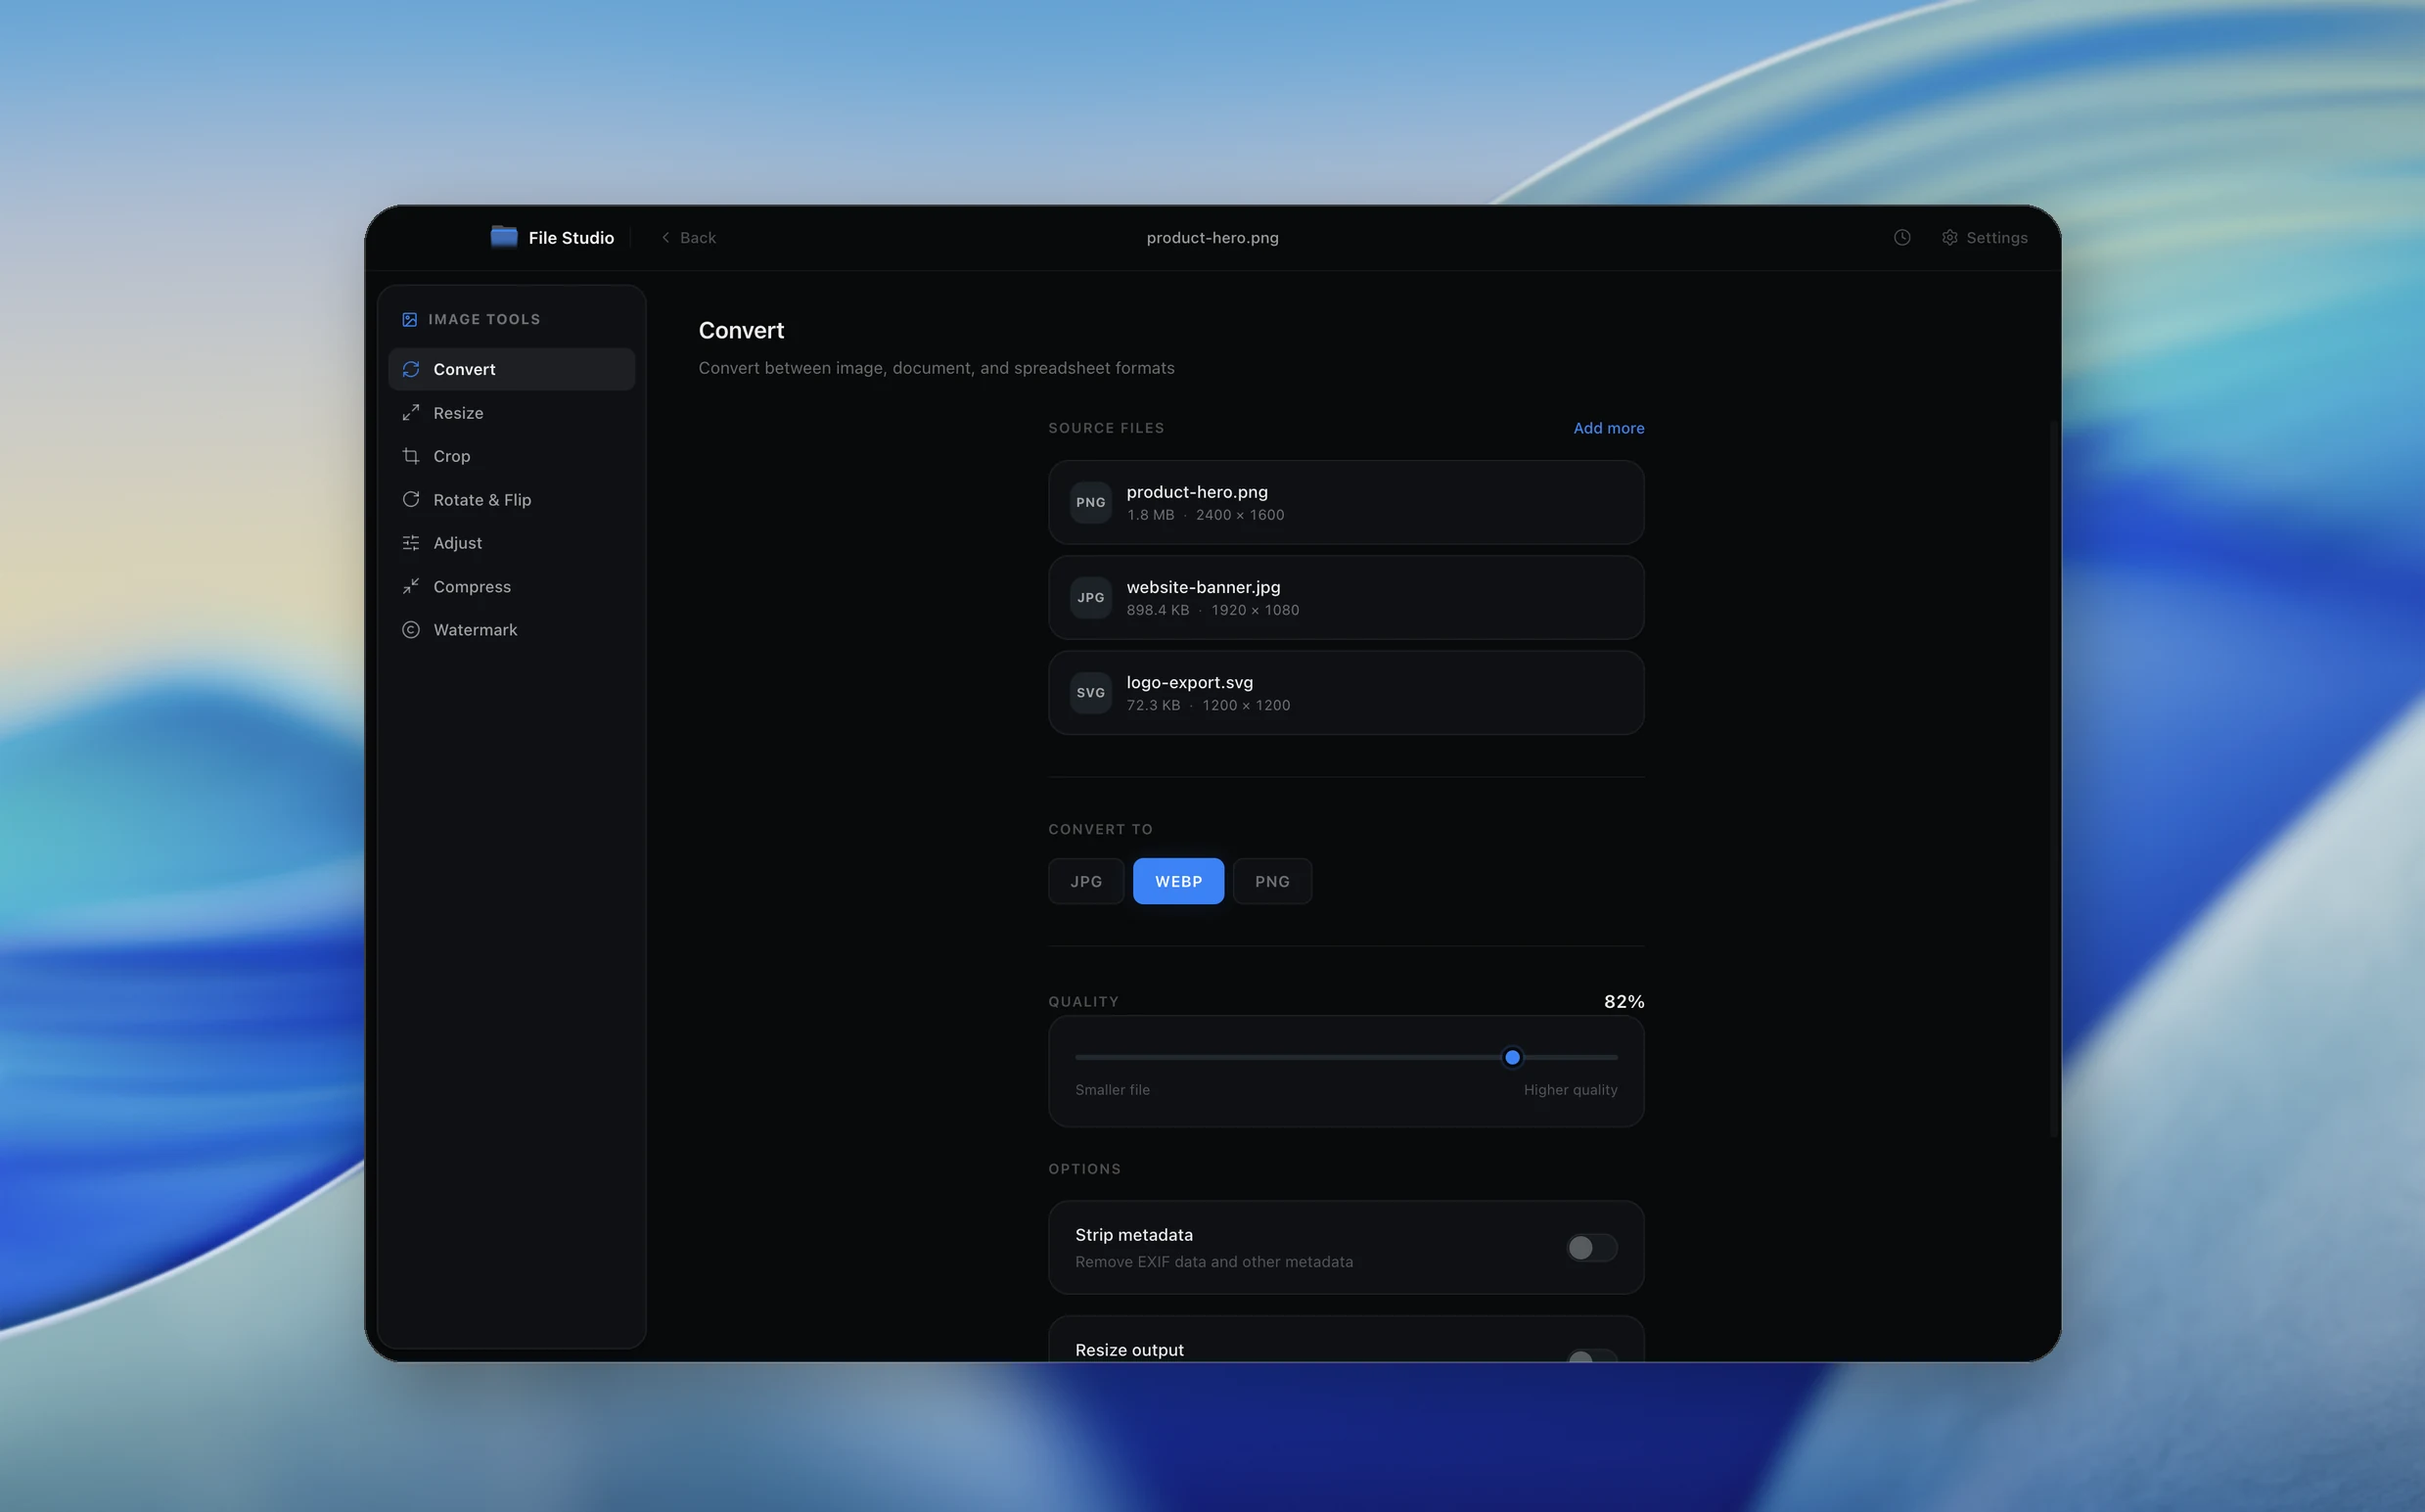
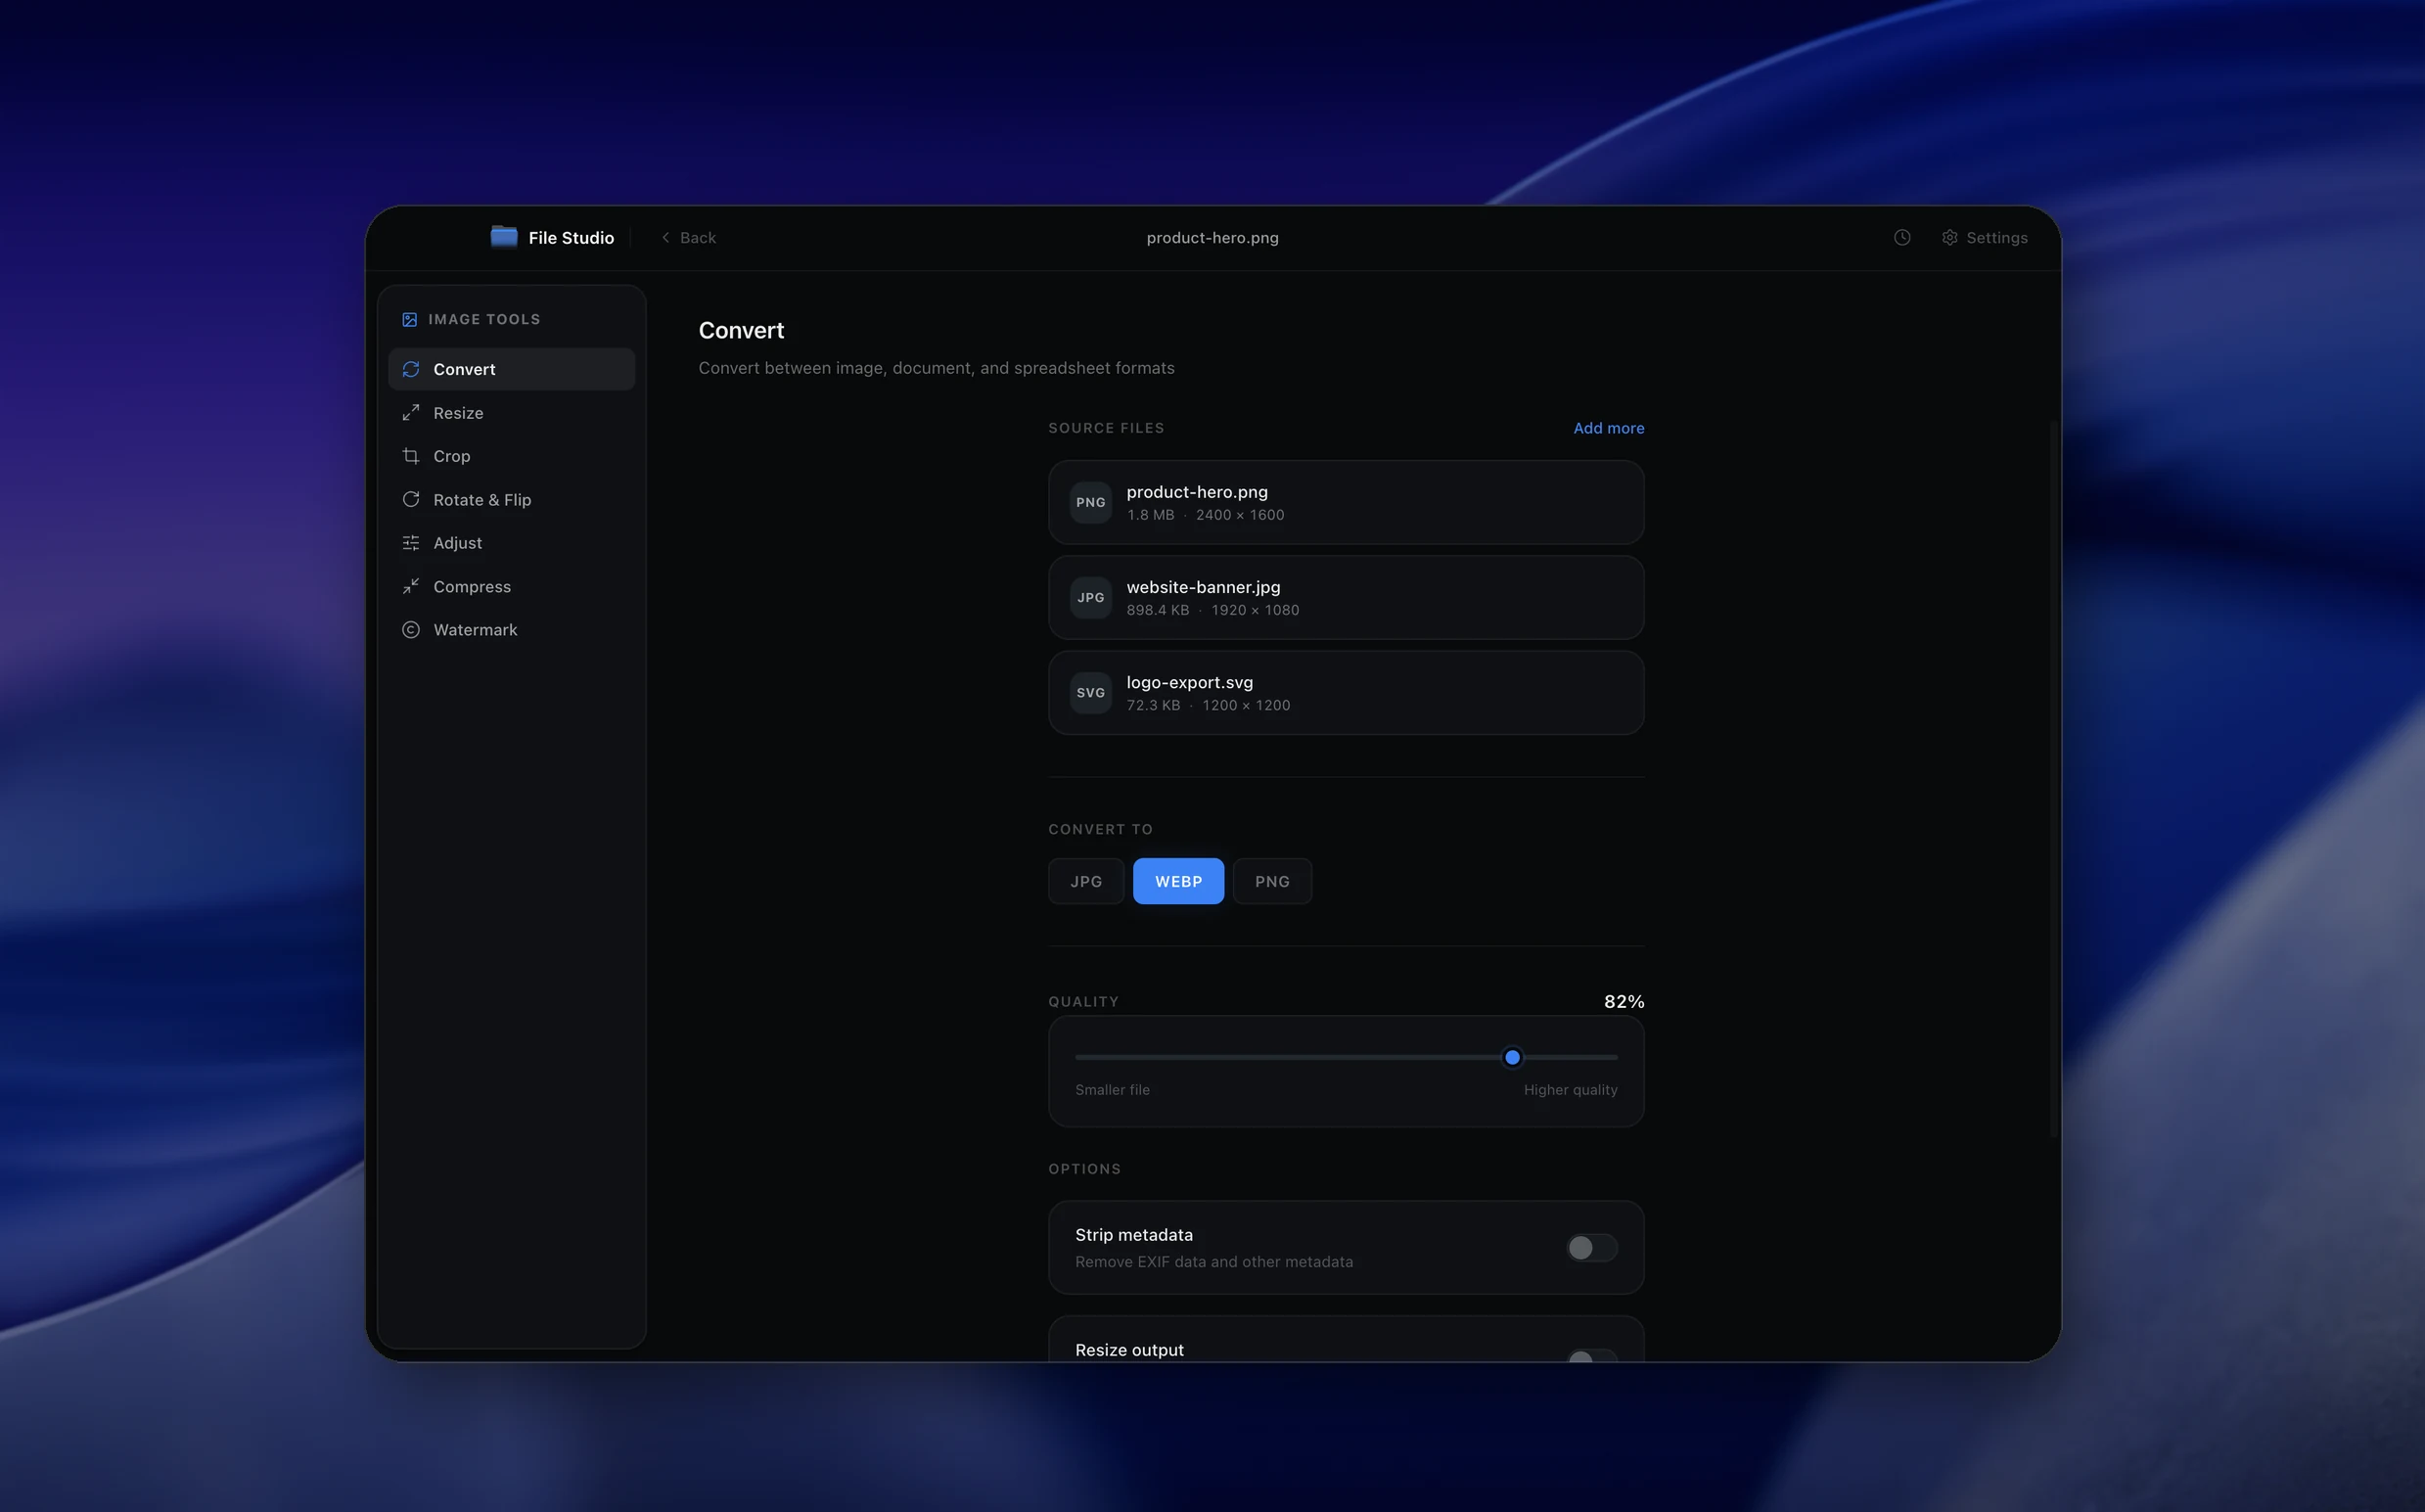
TIFF → JPG
Real File Studio interface, shown in light and dark mode.
Understanding the JPG format
JPG (also written JPEG) is the lossy raster image format published in 1992 as ISO/IEC 10918 by the Joint Photographic Experts Group. It uses a discrete cosine transform on 8x8 pixel blocks, quantizes the resulting frequency coefficients with a quality-controlled table, and entropy-codes the output with Huffman or arithmetic coding. JPG supports 24-bit RGB, 8-bit grayscale, CMYK (rarely used outside print), EXIF metadata, ICC profiles, and progressive encoding. It does not support transparency, layers, or multiple pages.
TIFF (Tagged Image File Format) is the opposite of JPG in almost every dimension. It is a lossless container that supports 1, 8, 16, and 32 bits per channel, multiple pages, layers, alpha, multiple color spaces (RGB, CMYK, Lab, grayscale), and a wide variety of compression schemes (none, LZW, DEFLATE, JPEG, JPEG 2000, CCITT for fax). A single TIFF file from a high-end scanner or DSLR can easily be 50 to 500 megabytes. Converting to JPG is fundamentally a step from authoring master to distribution copy.
The reason to convert TIFF to JPG is size and compatibility. A 200 megabyte 16-bit RGB TIFF becomes a 4 megabyte JPG at quality 90 with no visible difference on a typical display. Email systems, websites, social platforms, and most consumer software prefer JPG. The trade-off is permanent: JPG is lossy, JPG is 8-bit, JPG drops layers and alpha, and each subsequent re-save introduces additional generation loss. Always keep the TIFF as the editable master.
How it works
Convert TIFF to JPG in four simple steps.
The flow mirrors the main File Studio experience: install the app, drop in your files, pick the right tool, and export clean, ready-to-share output. All without sending anything to the cloud.
Install File Studio
Download the app, move it to Applications, and open it. No sign-ups or accounts required.
Add your TIFF files
Drag-and-drop your tiff files into the window or click to browse from disk.
Choose TIFF → JPG
Pick the dedicated tool, then adjust resolution, quality, and page range until the preview feels right.
Export & keep working
Select an output folder and run the conversion. Your originals stay untouched on your device.
Best practices for cleaner results
- ·Group related files into folders before converting so your output stays organized and easy to archive.
- ·Use higher resolution presets when you know the result will be printed, zoomed in, or reused in design tools.
- ·Keep an unedited copy of your original TIFF files for audits, record-keeping, or compliance workflows.
- ·Combine this tool with other File Studio actions like compress, merge, or split to streamline entire document pipelines.
Why File Studio
Built for trustworthy, everyday TIFF to JPG work.
You get precise control over the output, predictable file names, and a private workflow that keeps sensitive documents on your own machine.
Features tuned for this conversion
- ·Multi-page TIFF support with per-frame JPG export.
- ·Configurable JPG quality from 1 to 100 for precise control.
- ·Automatic color space conversion from CMYK TIFF to RGB JPG.
Why use File Studio for this conversion?
- ·Dramatically reduce file sizes by converting lossless TIFFs to optimized JPGs.
- ·Control JPG compression quality to balance sharpness and file size.
- ·Handle multi-page TIFFs by extracting each frame as a separate JPG.
Real-world ways people use it
- ·Convert high-resolution scan TIFFs into email-friendly JPG attachments.
- ·Prepare archival TIFF photographs for web gallery uploads.
- ·Extract frames from multi-page TIFF faxes as individual JPG images.
Settings guide
Understanding your conversion options
Quality factor
JPG quality runs 0 to 100. Use 90 to 95 when converting from a high-fidelity TIFF master that may be re-edited or reviewed at high zoom. Use 85 for general web distribution. Use 75 for thumbnails and bandwidth-constrained delivery. Below 70, blocking and color banding become visible.
Bit depth conversion
TIFF often stores 16 bits per channel. JPG only supports 8 bits. The encoder must dither or truncate the extra bits. A good encoder applies error diffusion dithering to avoid posterization in smooth gradients (skies, skin tones). Confirm that 16-to-8 bit downsampling uses dithering rather than naive truncation.
Color space conversion
TIFF can be RGB, CMYK, Lab, or grayscale. JPG is most commonly RGB, although CMYK JPG exists for print. When converting CMYK TIFF to RGB JPG, the encoder must use an ICC profile transform; otherwise saturated print colors shift noticeably. Embed the destination profile (sRGB or Adobe RGB) in the JPG output.
Chroma subsampling
Subsampling (4:4:4, 4:2:2, 4:2:0) trades color resolution for file size. 4:2:0 is the default for photographs and typically invisible. 4:4:4 preserves saturated edges and is the right choice for product photography or scanned art reproduction where color accuracy matters more than file size.
Page handling
TIFF can hold multiple pages (common for scanned documents). JPG is single-page only, so each TIFF page becomes a separate JPG file. Confirm the converter exports all pages with sequential filenames rather than only the first.
Industry standards and requirements
Professional printing accepts both TIFF and JPG, but at different quality settings. Print shops typically request TIFF for hero images and acceptable JPG quality is 95 or higher with 4:4:4 subsampling, sRGB or CMYK color, and 300 DPI at the final print size. JPG below quality 90 is generally rejected for offset printing because compression artifacts are visible on press.
Stock photography agencies (Getty, Adobe Stock, Shutterstock) require JPG submissions at quality 10 to 12 in Photoshop's scale (roughly quality 95 to 100), 300 DPI, sRGB color space, and minimum dimensions of 4 megapixels. The TIFF is the photographer's master; the JPG is the delivery format. Submitting a low-quality JPG is a common rejection reason.
For museum and archival photography, TIFF at 16-bit per channel remains the preservation format and JPG is only used for web access copies. The Library of Congress lists TIFF (uncompressed or LZW) as a recommended preservation format and JPG only as an acceptable access format. The standard workflow is to scan at 600 DPI, archive as 16-bit TIFF, and generate 8-bit JPG access copies at three sizes (thumbnail, web, full).
Troubleshooting
Common issues and how to fix them
Banding visible in smooth gradients→
16-to-8 bit downsampling without dithering produces visible color steps in skies, skin, and metallic surfaces. Enable dithering in the encoder, raise JPG quality to 95, and embed the source ICC profile so color management is consistent.
Colors look wrong, especially saturated colors→
The TIFF was likely in CMYK or a wide-gamut RGB space, and the converter is treating the data as sRGB. Enable ICC color management so the converter applies a proper profile transform from CMYK or Adobe RGB to sRGB before encoding.
Only the first page of a multi-page TIFF was converted→
Some converters default to single-page output. Enable multi-page mode or specify a page range that includes all pages. Each TIFF page becomes its own JPG file with a sequential suffix.
JPG file is unexpectedly large→
Either quality is set above 95, or the source TIFF contains photographic content at very high resolution (300+ DPI from a scanner). Lower quality to 85, downscale dimensions if appropriate, and confirm chroma subsampling is set to 4:2:0 for typical photographs.
Pricing
Simple, fair pricing.
All tools included. No hidden fees. Processing stays on your device.
Yearly
For short-term projects.
- 1 year of updates
- Image, PDF, SVG, and spreadsheet tools
- Works on Mac & Windows
- All processing done on device
Lifetime
One purchase. Keep it forever.
- Unlimited conversions forever
- 1 year of major updates
- Image, PDF, SVG, and spreadsheet tools
- Watch Folders & Automation
- macOS Notch Drop Zone
- Works on Mac & Windows
Team & Bulk Pricing
Lifetime seats with volume discounts. More seats, bigger discount.
15
lifetime seats
You save
$60
15% off the individual price
Enterprise
50+ seats with custom pricing, centralized license management, and priority support.
FAQ
Frequently asked questions
How much smaller will my JPGs be compared to the TIFFs?→
It depends on the content and quality setting, but a typical 50 MB uncompressed TIFF might become a 2-5 MB JPG at high quality (85-95). Photos compress especially well.
What happens with multi-page TIFF files?→
Each page (frame) in a multi-page TIFF is exported as its own separate JPG file, numbered sequentially for easy identification.
Will CMYK TIFFs convert correctly?→
Yes. File Studio automatically converts CMYK color data to RGB for JPG output, since JPG only supports RGB. The visual appearance is preserved as closely as possible.
Can I convert a folder of TIFFs at once?→
Absolutely. File Studio supports batch conversion, so you can drop in an entire folder of TIFF files and convert them all to JPG with the same quality settings.
Does this require an internet connection?→
No. Every conversion runs locally on your Mac or Windows computer. Your files never leave your device.
Looking for something else? Explore more offline conversions with File Studio: