BMP to PNG converter
BMP to PNG - Upgrade uncompressed BMPs to compact, lossless PNGs on your desktop.
BMP files are pixel-perfect but wastefully large because they store raw, uncompressed data. File Studio converts them to PNG, which applies lossless compression to shrink files dramatically without losing a single pixel of detail.
Works 100% offline on both Windows and Mac.
All conversions happen locally on your computer. No uploads, no subscriptions, and no background syncing.
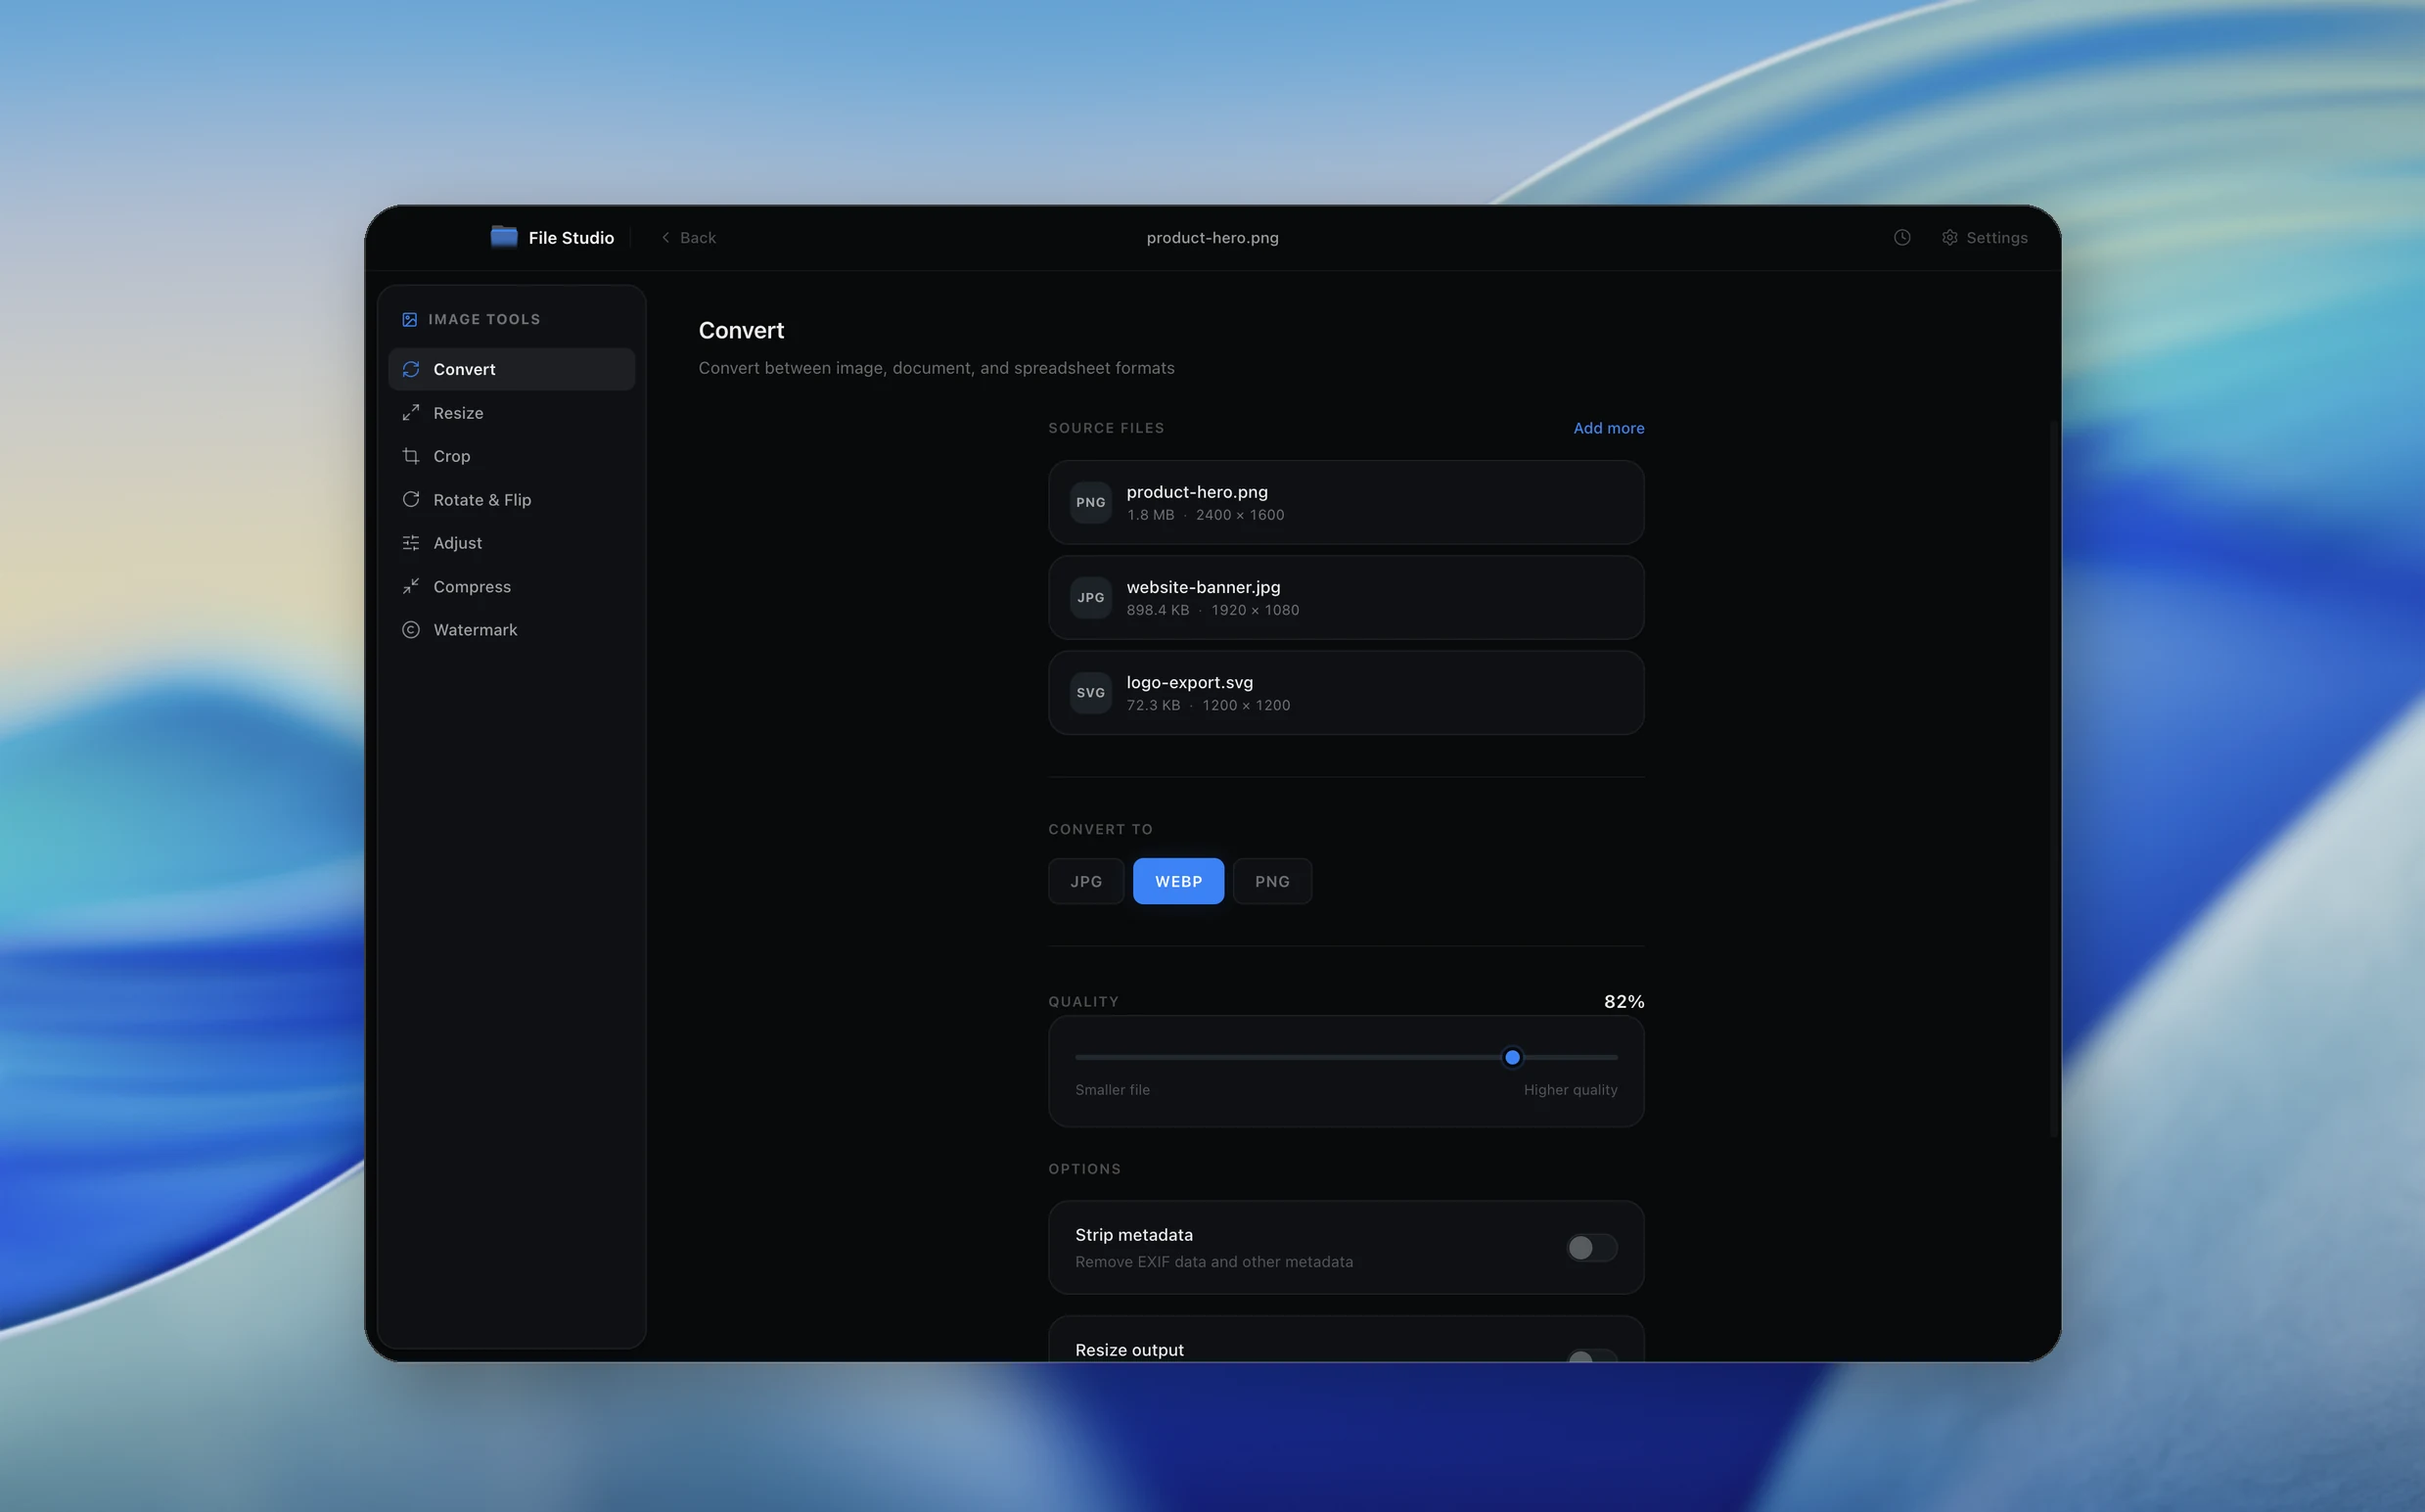
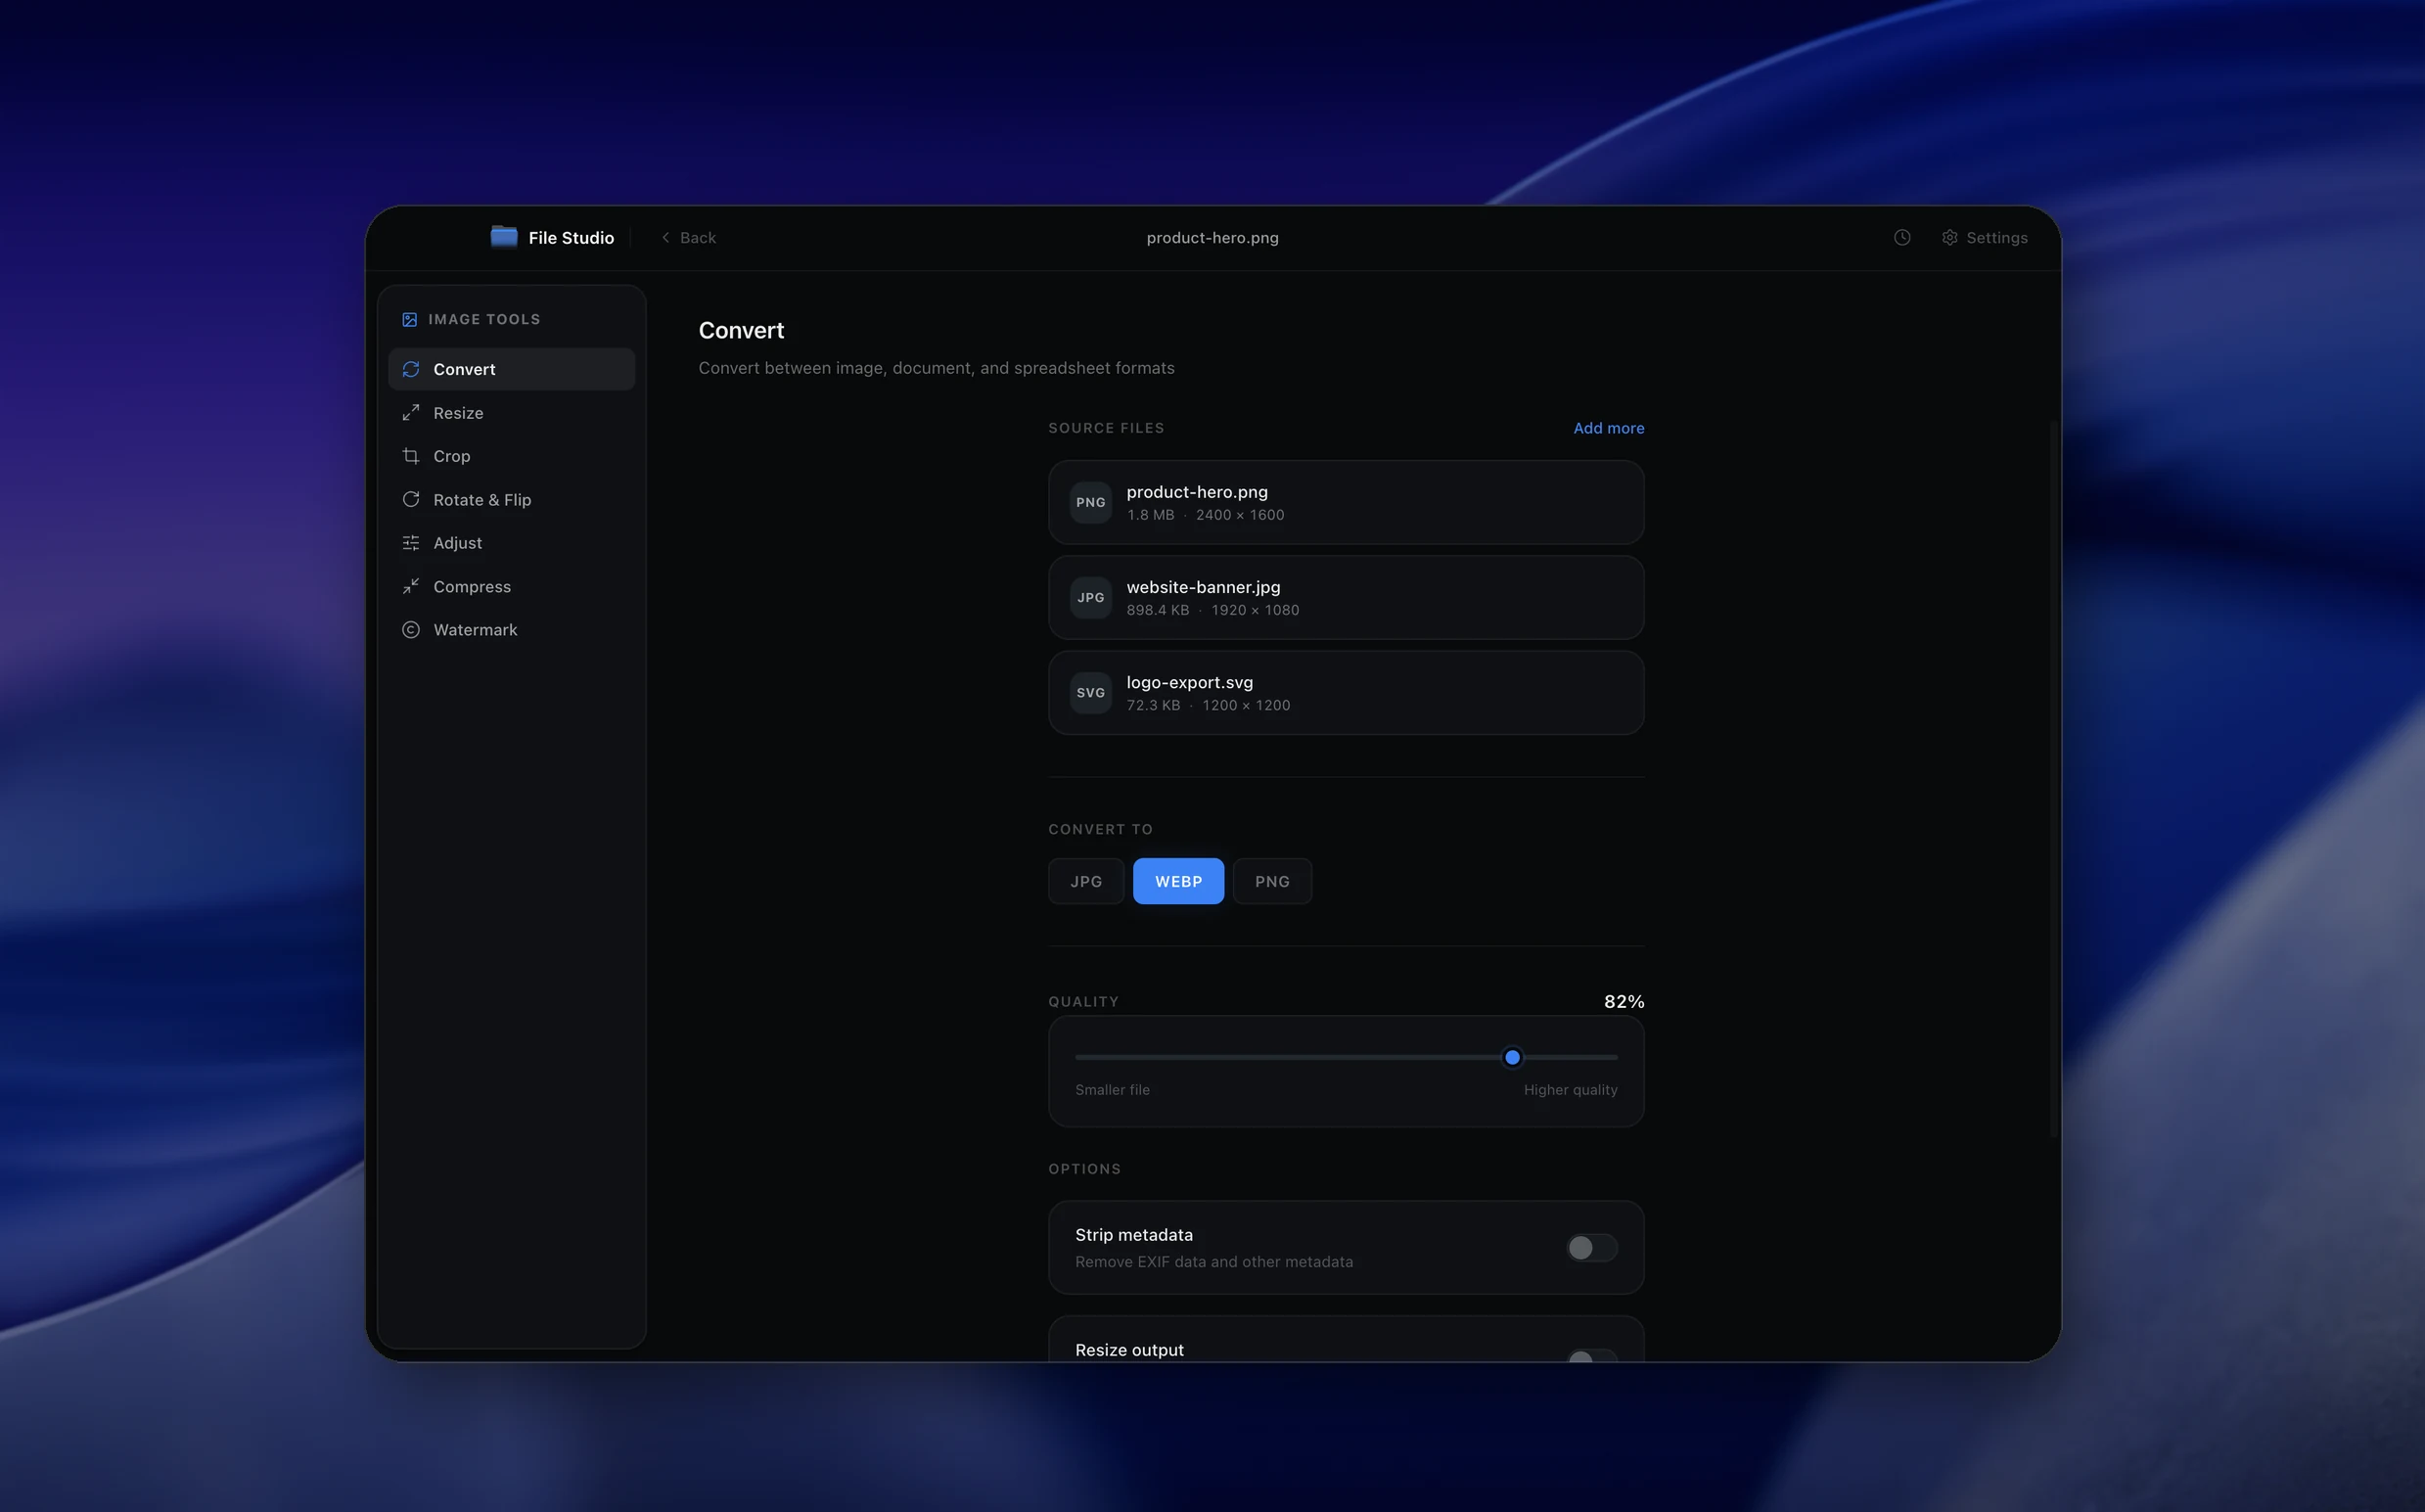
BMP → PNG
Real File Studio interface, shown in light and dark mode.
Understanding the PNG format
PNG (Portable Network Graphics) is a lossless raster image format published in 1996 and standardized as ISO/IEC 15948. It uses the DEFLATE compression algorithm combined with five row prefilters to achieve good compression on both photographic and synthetic content. PNG supports grayscale, indexed palette, RGB, and RGBA modes at bit depths up to 16 bits per channel, full alpha transparency, gamma correction, and ICC color profiles for color management.
BMP (Bitmap) is Microsoft's original Windows raster format from 1985. It stores pixel data row by row, almost always uncompressed, with a small header describing dimensions, color palette, and bit depth. BMP supports 1, 4, 8, 16, 24, and 32 bits per pixel. The format is fast to read and write but extremely inefficient: a 1920x1080 24-bit BMP is roughly 6 megabytes whereas the same image as PNG is typically 200 KB to 2 MB depending on content.
Converting BMP to PNG is almost always a pure win. The output is lossless (every pixel is preserved exactly) and dramatically smaller. Color depth, alpha, and metadata can all be preserved. The only situations where PNG is not the right destination are: when the receiving software does not understand PNG (rare today) or when the source is photographic content that would compress better as JPG or WebP at acceptable quality.
How it works
Convert BMP to PNG in four simple steps.
The flow mirrors the main File Studio experience: install the app, drop in your files, pick the right tool, and export clean, ready-to-share output. All without sending anything to the cloud.
Install File Studio
Download the app, move it to Applications, and open it. No sign-ups or accounts required.
Add your BMP files
Drag-and-drop your bmp files into the window or click to browse from disk.
Choose BMP → PNG
Pick the dedicated tool, then adjust resolution, quality, and page range until the preview feels right.
Export & keep working
Select an output folder and run the conversion. Your originals stay untouched on your device.
Best practices for cleaner results
- ·Group related files into folders before converting so your output stays organized and easy to archive.
- ·Use higher resolution presets when you know the result will be printed, zoomed in, or reused in design tools.
- ·Keep an unedited copy of your original BMP files for audits, record-keeping, or compliance workflows.
- ·Combine this tool with other File Studio actions like compress, merge, or split to streamline entire document pipelines.
Why File Studio
Built for trustworthy, everyday BMP to PNG work.
You get precise control over the output, predictable file names, and a private workflow that keeps sensitive documents on your own machine.
Features tuned for this conversion
- ·Lossless conversion that preserves exact pixel data while compressing file size.
- ·Transparency support for 32-bit RGBA BMP input.
- ·Batch conversion for processing hundreds of BMP files at once.
Why use File Studio for this conversion?
- ·Lossless compression means every pixel is preserved exactly.
- ·File sizes drop significantly compared to uncompressed BMP.
- ·Fully offline processing for sensitive legacy images.
Real-world ways people use it
- ·Migrate legacy BMP screenshot archives to the more modern, universally supported PNG format.
- ·Convert BMP outputs from scientific instruments to PNG for publications.
- ·Reduce storage costs by re-encoding BMP image libraries as lossless PNGs.
Settings guide
Understanding your conversion options
Color mode
Match the PNG color mode to the source BMP. 24-bit RGB BMP becomes RGB PNG. 32-bit BMP with alpha becomes RGBA PNG. 8-bit indexed BMP becomes indexed PNG (smallest output). 1-bit black-and-white BMP becomes 1-bit grayscale PNG. Mismatching modes inflates file size unnecessarily.
Bit depth
PNG supports 1, 2, 4, 8, and 16 bits per channel. Preserve the source bit depth: 8-bit BMP stays 8-bit, 16-bit BMP stays 16-bit. Promoting 8-bit data to 16-bit doubles file size with no quality benefit since the source data was already 8-bit.
Compression level
PNG compression level (0 to 9) controls DEFLATE effort. Visual output is identical at all levels because PNG is lossless; only size and encoding time vary. Level 6 is the default. Level 9 saves an additional 1 to 5 percent at significantly higher CPU cost.
Alpha channel handling
32-bit BMPs may include an alpha channel, although many Windows tools store dummy 255 (fully opaque) alpha. Confirm that the alpha channel actually contains useful transparency before exporting RGBA. If alpha is uniformly opaque, RGB output is smaller and faster.
Resolution metadata (DPI)
BMP stores resolution in pixels per meter. PNG stores it in pHYs chunks. Make sure the converter copies the resolution metadata so the image prints at the intended physical size. Without this, applications often default to 72 or 96 DPI.
Industry standards and requirements
Software documentation, technical drawings, and scientific imaging frequently start as BMP from legacy capture tools and end up as PNG for distribution. Microscopy software, oscilloscopes, and many older Windows-only scientific instruments still produce BMP as the default. Converting to PNG is the standard step for inclusion in publications, lab notebooks, and shared drives.
For Windows desktop application screenshots, PNG is the universal target format. Microsoft's own Snipping Tool and Snip and Sketch save as PNG by default; older versions saved BMP. Converting legacy BMP screenshots to PNG before publishing in user manuals or knowledge base articles cuts file size by 90 percent or more without any quality loss.
Long-term archival prefers PNG over BMP because PNG includes integrity checksums (CRC), supports embedded metadata, and is standardized as ISO/IEC 15948. The Library of Congress lists PNG as a recommended preservation format. BMP is acceptable but discouraged due to size and limited metadata support. Converting BMP to PNG is a common preservation step for digitized collections.
Troubleshooting
Common issues and how to fix them
PNG is dramatically smaller than the BMP→
This is the expected outcome and the main reason to convert. BMP is uncompressed; PNG uses DEFLATE compression that typically reduces file size by 60 to 95 percent without any quality loss. The conversion is lossless: every pixel is preserved exactly.
Indexed BMP becomes a much larger RGB PNG→
The converter is expanding the indexed palette to 24-bit RGB. To preserve the indexed nature and produce the smallest PNG, choose indexed (paletted) PNG output mode rather than RGB. The colors will be identical and the file will be 3 to 4 times smaller.
Transparency is missing or wrong after conversion→
Confirm the source BMP actually has 32-bit color depth with a real alpha channel (not just zero-filled padding bytes). Some BMP variants store alpha as zero by default, which makes the entire image transparent when interpreted strictly. Set the alpha mode appropriately or convert to RGB if the source has no real transparency.
Image dimensions are correct but DPI is wrong→
BMP stores resolution as pixels per meter; PNG uses pHYs chunks with units of meters. Some converters drop resolution metadata. Confirm the converter writes the correct DPI to pHYs so applications display and print the image at the intended physical size.
Pricing
Simple, fair pricing.
All tools included. No hidden fees. Processing stays on your device.
Yearly
For short-term projects.
- 1 year of updates
- Image, PDF, SVG, and spreadsheet tools
- Works on Mac & Windows
- All processing done on device
Lifetime
One purchase. Keep it forever.
- Unlimited conversions forever
- 1 year of major updates
- Image, PDF, SVG, and spreadsheet tools
- Watch Folders & Automation
- macOS Notch Drop Zone
- Works on Mac & Windows
Team & Bulk Pricing
Lifetime seats with volume discounts. More seats, bigger discount.
15
lifetime seats
You save
$60
15% off the individual price
Enterprise
50+ seats with custom pricing, centralized license management, and priority support.
FAQ
Frequently asked questions
Is BMP to PNG really lossless?→
Yes. PNG uses lossless deflate compression, so every pixel from the original BMP is preserved exactly. The only difference is the file gets smaller.
How much smaller will my PNG files be compared to BMP?→
It varies by content, but PNG files are typically 50-80% smaller than equivalent uncompressed BMPs. Screenshots and graphics with solid colors compress especially well.
Does this preserve transparency from 32-bit BMPs?→
Yes. If your BMP has a 32-bit RGBA color space with an alpha channel, File Studio preserves that transparency in the PNG output.
Can I convert many BMP files at once?→
Yes. File Studio's batch mode lets you drop in an entire folder of BMP files and convert them all to PNG in one run.
Is the conversion offline and private?→
Completely. Everything runs on your Mac or Windows machine. No files leave your computer during the conversion.
Looking for something else? Explore more offline conversions with File Studio: